ph3 306 2.0 turbo 406 sri xu10j2te

Thread Rating:
  • 0 Vote(s) - 0 Average
  • 1
  • 2
  • 3
  • 4
  • 5
ph3 306 2.0 turbo 406 sri xu10j2te
#1
       

This is the item in question...purchased from a failed 205 project up in cumbria and was painted red..the engine had been sitting for some time so a quick sump off to check for big end bearing play and a freshen up and i could finally try and understand how this was even going to work.  The head gasket had already been changed so i gambled on the fact it was done correctly!

After a lot of searching for information about wiring and everything else (didnt come up with much..) and about a year later (when insurance went down), the scaffolding finally came down on the garage and the next day i managed to squeeze the pug in there.


popped the 1.4 out


and wheeled the new lump over to its new home


then came the simple task of making it fit -.-


bit of degreasing work/moving metal out of the way and we are all sorted!

apologiese's for the rotated pics..carnt quite figure that out yet!
Reply
Thanks given by:
#2
Interesting looking project. You say you managed to squeeze the pug in, looks like you could drive around in there!
[Image: 20120704_212316.jpg]
Reply
Thanks given by:
#3


finally about in the right position. new custom engine mounts made in the garage, nothing special of course just some strong bits of metal and lots of strong welds.  stepping the engine forward slightly for clearance for the down pipe as welll as a small amount of tilting back to aid clearances.


the engine came with a 205 gti gearbox so there was a lot of messing about with gear linkages.  Using some 205 parts some 306 and some bits of random metal and welding.  Trying to get it to engage without coming up against turbo caused some issues but its a lot prettier sight behind there nowadays.  


The idea was to use a 406 sri downpipe and then mate it up with a 1.9 td 306 system as the td has about a 2.5 inch diameter which is a lot bigger than the 1.4 one -.-  the downpipe angle needed a bit of tweeking as well as then new bits to mate the 2 pieces up on a joint to ensure it was still serviceable if needed. 

problems trying to get the power steering to all meet up.  Custom brackets made as the engine didnt come with any..and then got a length of pressurized hose made to then end with a banjo bolt.  This piece of hose did give out on its first move out of the driveway as the guy obviously didnt understand how much pressure goes through it.  But another one was soon made and fitted after that one!
   

Parcels arrived! only problem with this is when new things arrive, its new things to fit. which means new things to find dont fit.
   

haha it was a pain to get it in there cos they dug away at the ground a load (how inconsiderate)...lots of planks of wood where used and the garage is just full of stuff now! i got in there before dad could move all of his stuff in Smile i mean its his garage n all but pug priorities


Attached Files Image(s)
   
Reply
Thanks given by:
#4
   

had its first start few days before this photo.  Couldnt believe it actually ran :S.   There was always a chance that the ecu was locked so after first trying to turn it over there was no spark and nothing from the injectors.  This could have been down to it being immobilised or it could have been to the hundred wiring joins i had done whiilst looking pale faced at a lot of ecu schematics.   Luckiily after sending the ecu off ECU Doctor it came back.  I had a plug on a lead resting on the engine mount to see if we now had spark.  To my delight it was sparking so i had obviously wired a few wires round the right way! Then suddenly the other 3 cylinders burst into life.  Couldnt believe after a engine had been sitting for years, plus the fact that everything was completely knew to me and with a engine that i didnt even know would run...it fired up and i S**t myself and yank the key out.  A hell of a lot of time work and patience had gone into the lil pug and it was all rewarded.

(until later on that year obviously)


after slimming down the fan assembly as much as humanly possible, stepped that and the rad as far towards the engine as i could on new brackets to try and make room for the intercooler and pipework.  I chose to use the standard fan assembly as it was a dual speed twin fan and so i could retain the factory wiring and just put in my own system for the triggers.  The wiring was a bit confusing as it uses 3 relays and the previous 1.4 system was controlled by ecu and the 406 was controlled by a separate thermistic swtich.  After a bit of time managed to get both fans on through a normal thermistic switch which i put in the rad and i then used the 'ac' button in the dash to then put both fans onto full speed incase things got hot!


managed to squeeze everything back behind the bumper. it was a lot of effort with the bumper fan and rad assembly but it was totally worth it! very tight fit though!


finally starting to look more like a car...but why are my lights always on as soon as i connect the battery -.-    more problems

   
This was a very annoying problem that was a simple error but could have been far worse.  Through all of the wiring on the car i didnt know where to start.  Started to methodically see what i could do to get the lights to turn off and work backwards from there.  Finally turned out it was a misread on the schematic.  What was a B00 number for main ignition/fuel pump relay, i presumed it was a battery v input that was required so pulled a feed from the fuse box.  What it actually was, was a battery output which then went straight into the fuse box and back powerd the lights.  Thankfully it was a simple fix that took a few dedicated hours to find.


almost there!


Attached Files Image(s)
   
Reply
Thanks given by:
#5
   

MOT time! was very nervous about the whole thing! But thankfully it all passed! Finally, was missing the pug so much and it was time to get it back on the road!


S**t....dont think it lasted more than two days! all efforts to try and nurse the turbo from it sitting so long had failed and it was smoking...a lot...!  it was completely screwed and there not the easiest of engines/parts to come across.  Managed to get hold of one that needed a recon and off to turbo dynamics it went for a makeover.
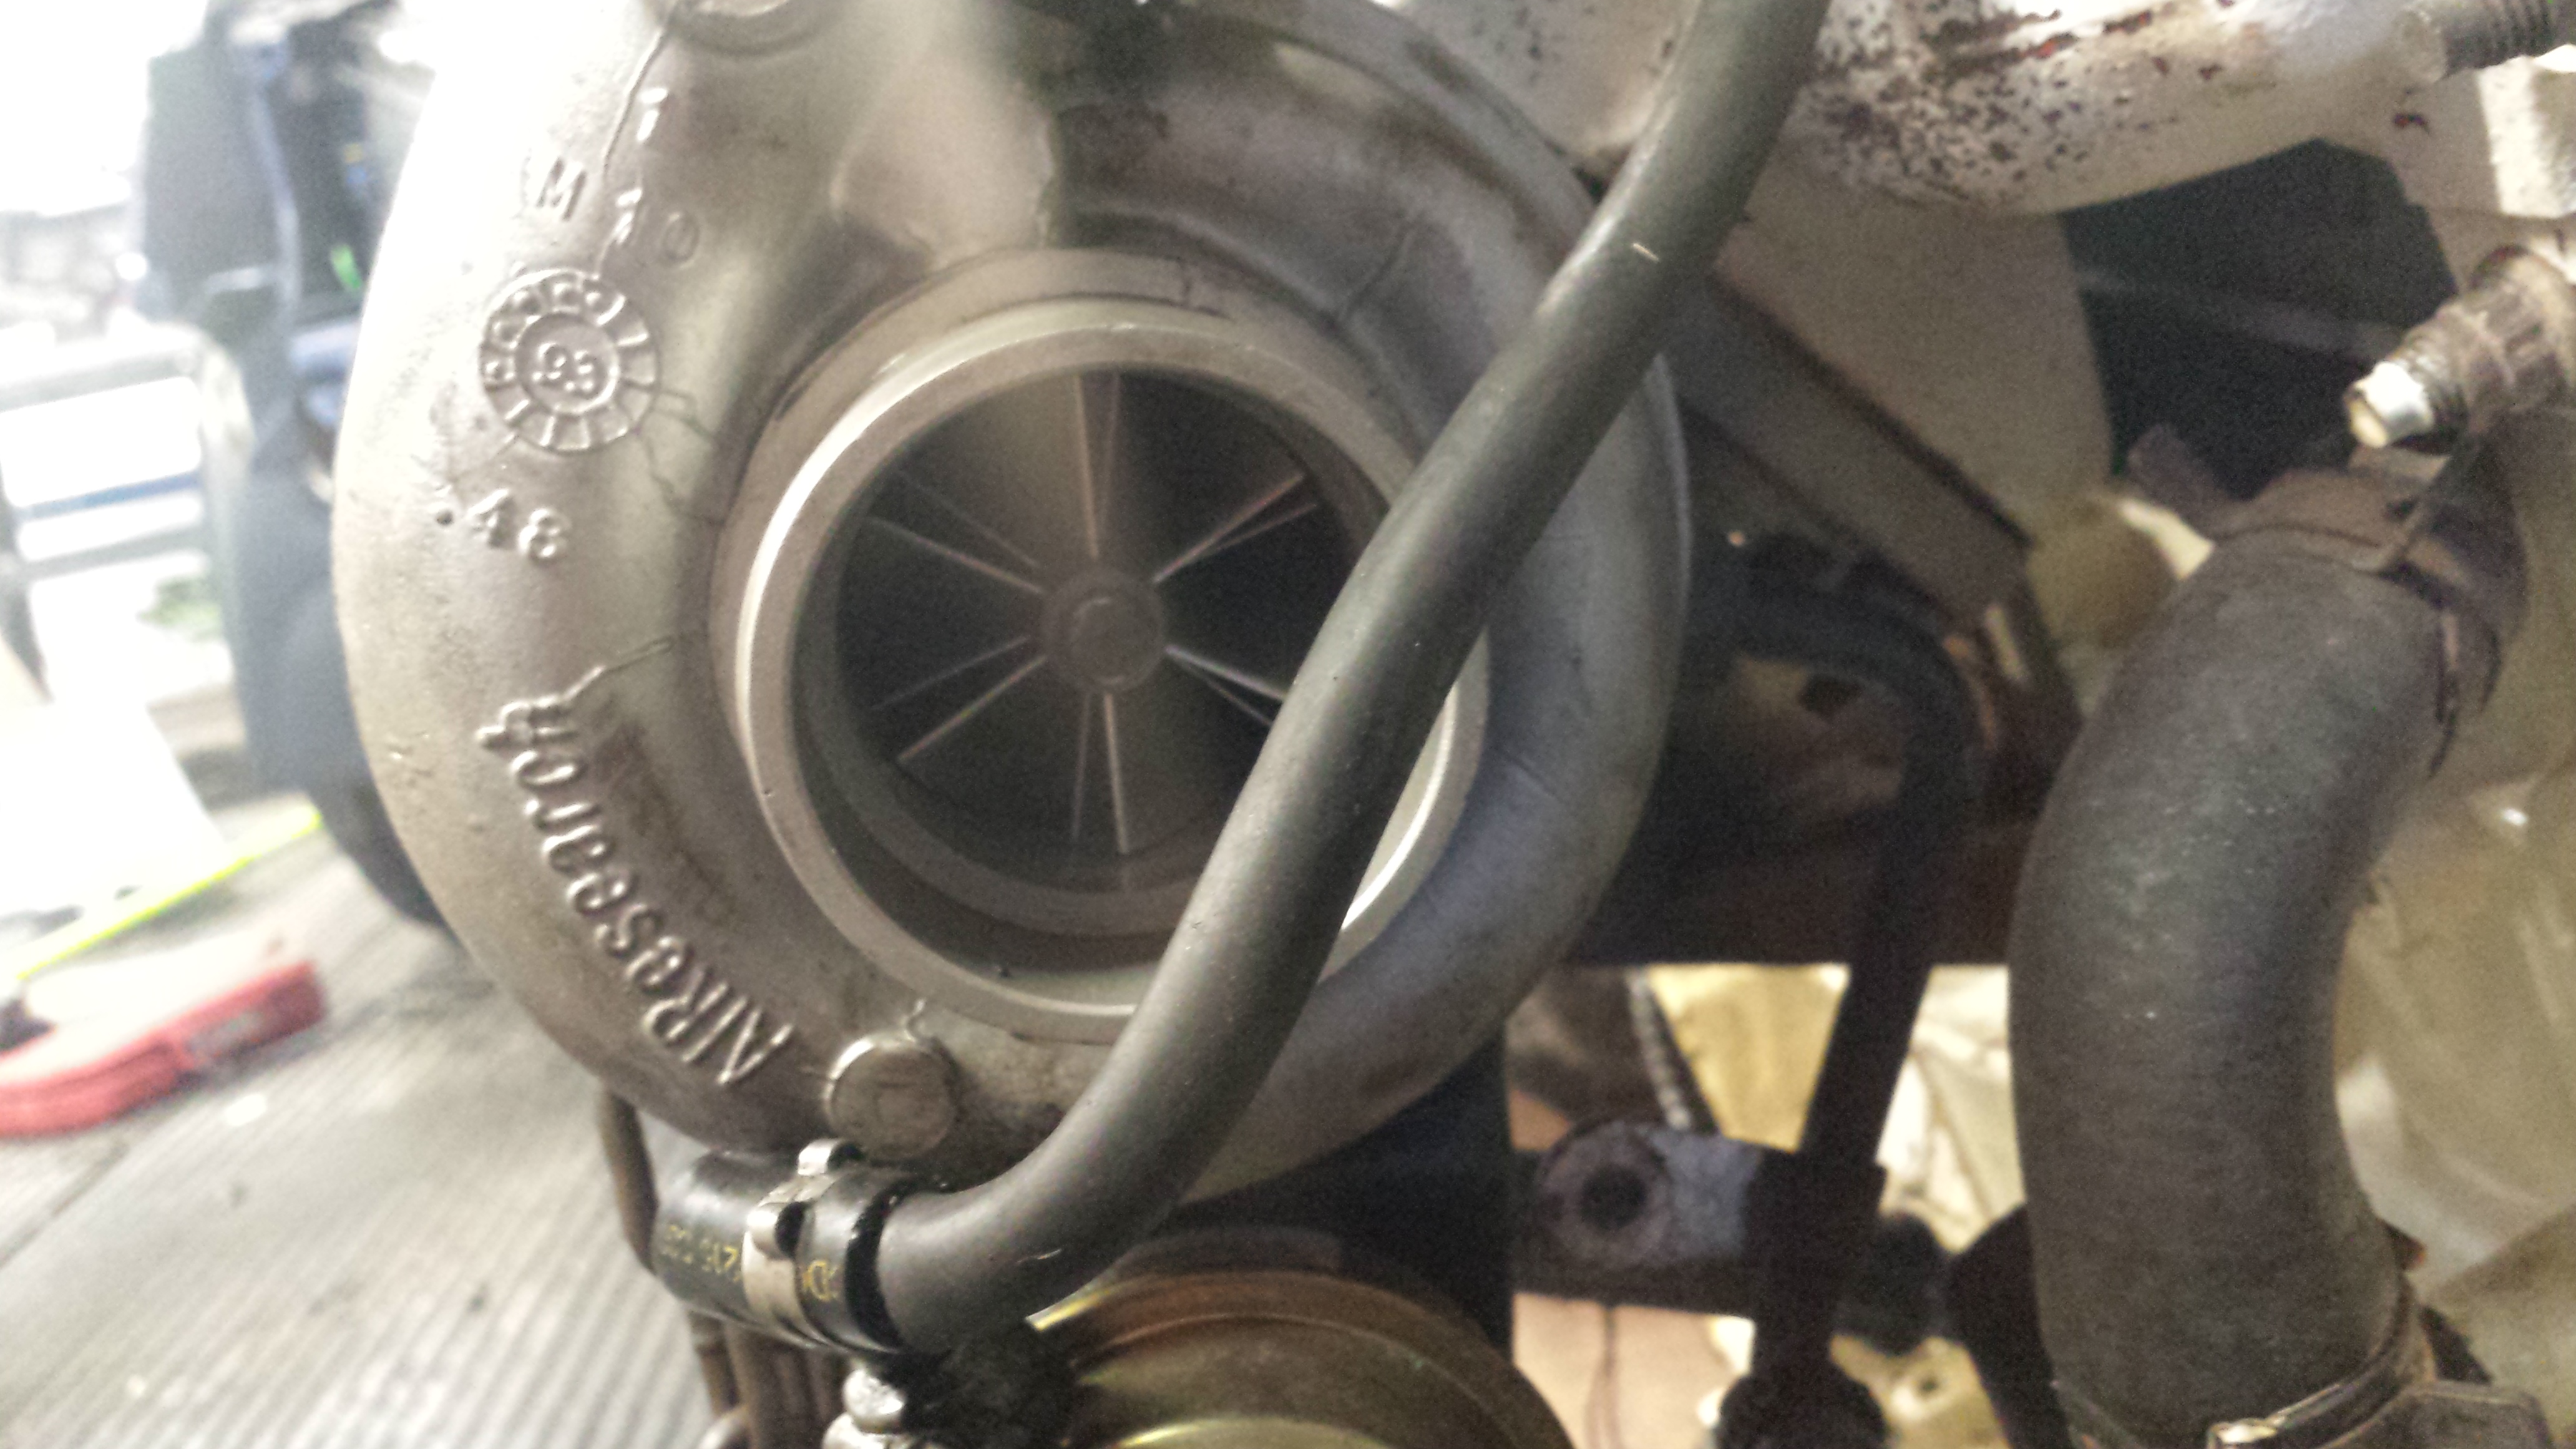
   

a shiny new hybrid turbo arrived.  Much better performing than the stock one and worked brilliantly.  Took a while to get all the oil burned off from down the exhaust and it also took out the lambda sensor through contamination.  But it was back to being on the road again!...round 2!


after a little while of running around like this.  It became apparent that the gearbox wasn't going to be enough.  It would top out very quickly meaning i was sitting on motorways at lorry pace otherwise it would scream its nuts off.  It would accelerate very quickly and you couldn't change gear quick enough! but it just wasn't quite what i was looking for.  This also gave me the opportunity to tidy up some of the wiring as everything was now tested on the road and i also planned to move the battery to the boot to get more space.  


So out it came again! nice and easy this time as most of the hard work is done


fresh coat of paint to clean things up a bit.  At this point i had the banded steels the same cream colour so i thought i would tie that in to the bay! unfortuanley they are very messy engines and although you can get rid of a lot of things or make it look smarter, its all on a small budget and the expense just didnt justify the results for the amount of work.  It looks good up until you start bolting things on it!


All back together again.  Another thing worth mentioning is that i also had to move the washer bottle to the boot to make room for the intercooler piping.  Takes a while to get screenwash up to the front but it works a treat.  With the new turbo diesel gearbox on it behaved so much better on the road.  i could actually go down the motorway and the gears where a lot longer which made better use for the turbo.

The car stayed like this with a few more refinements for a little while.  After a trip round the track at bhp, it was obvious i needed something more than the 165 tyres i had on the banded steels...and brakes became a problem after about the 4th corner -.-  But i couldnt believe it made it round there and was a brilliant moment when the flag came out thinking that something i had slapped together managed to even make it a lap let alone the session and with the gf in the car next to me i had a massive massive smile on my face.

Since then its was waiting on its custom made extreme offset wheels to be delivered which look phresh! And recently just put on the wind deflectors as well as the rear spoiler to tie it together.
Reply
Thanks given by:
#6
Fair play, looks like you've put a fair bit of graft into this mate. Get some wider wheels on and go from there.
Supercharged GTi6 Build
S14 Zenki Build
[Image: signature.png]
Reply
Thanks given by:
#7
Big Grin 
Absolutely love it bud you've put soooooo much time and effort in and it's paid off
Reply
Thanks given by:
#8
Try putting a little check valve in the line near the front washer branch mate, might stop the back flow into the bottle so you have instant fluid almost when you need it..

not like it needs 2 way flow anyhow,


other than that looks stunning.. have you got any idea what power you're going for with this badboy?>
Given the choice between Niall and the sheep. I would choose the sheep!
/Toseland
Reply
Thanks given by:


Possibly Related Threads…
Thread Author Replies Views Last Post
  From 1.8 16v to 2.0 turbo XU10J2TE kinderis96LT 2 2,349 30-11-2018, 11:32 AM
Last Post: PUGNUT_XS

Forum Jump:


Users browsing this thread: 1 Guest(s)