Guide: MOT Faulty airbag bypass

Thread Rating:
  • 0 Vote(s) - 0 Average
  • 1
  • 2
  • 3
  • 4
  • 5
Guide: MOT Faulty airbag bypass
#1
WARNING THIS WILL LEAVE YOU WITH A NON WORKING AIRBAG SYSTEM

Phase 3 HDI with a faulty airbag system and unable to rectify problems
Caution! check if your car has the same system as different systems are fitted to the same modle car!!!!!!
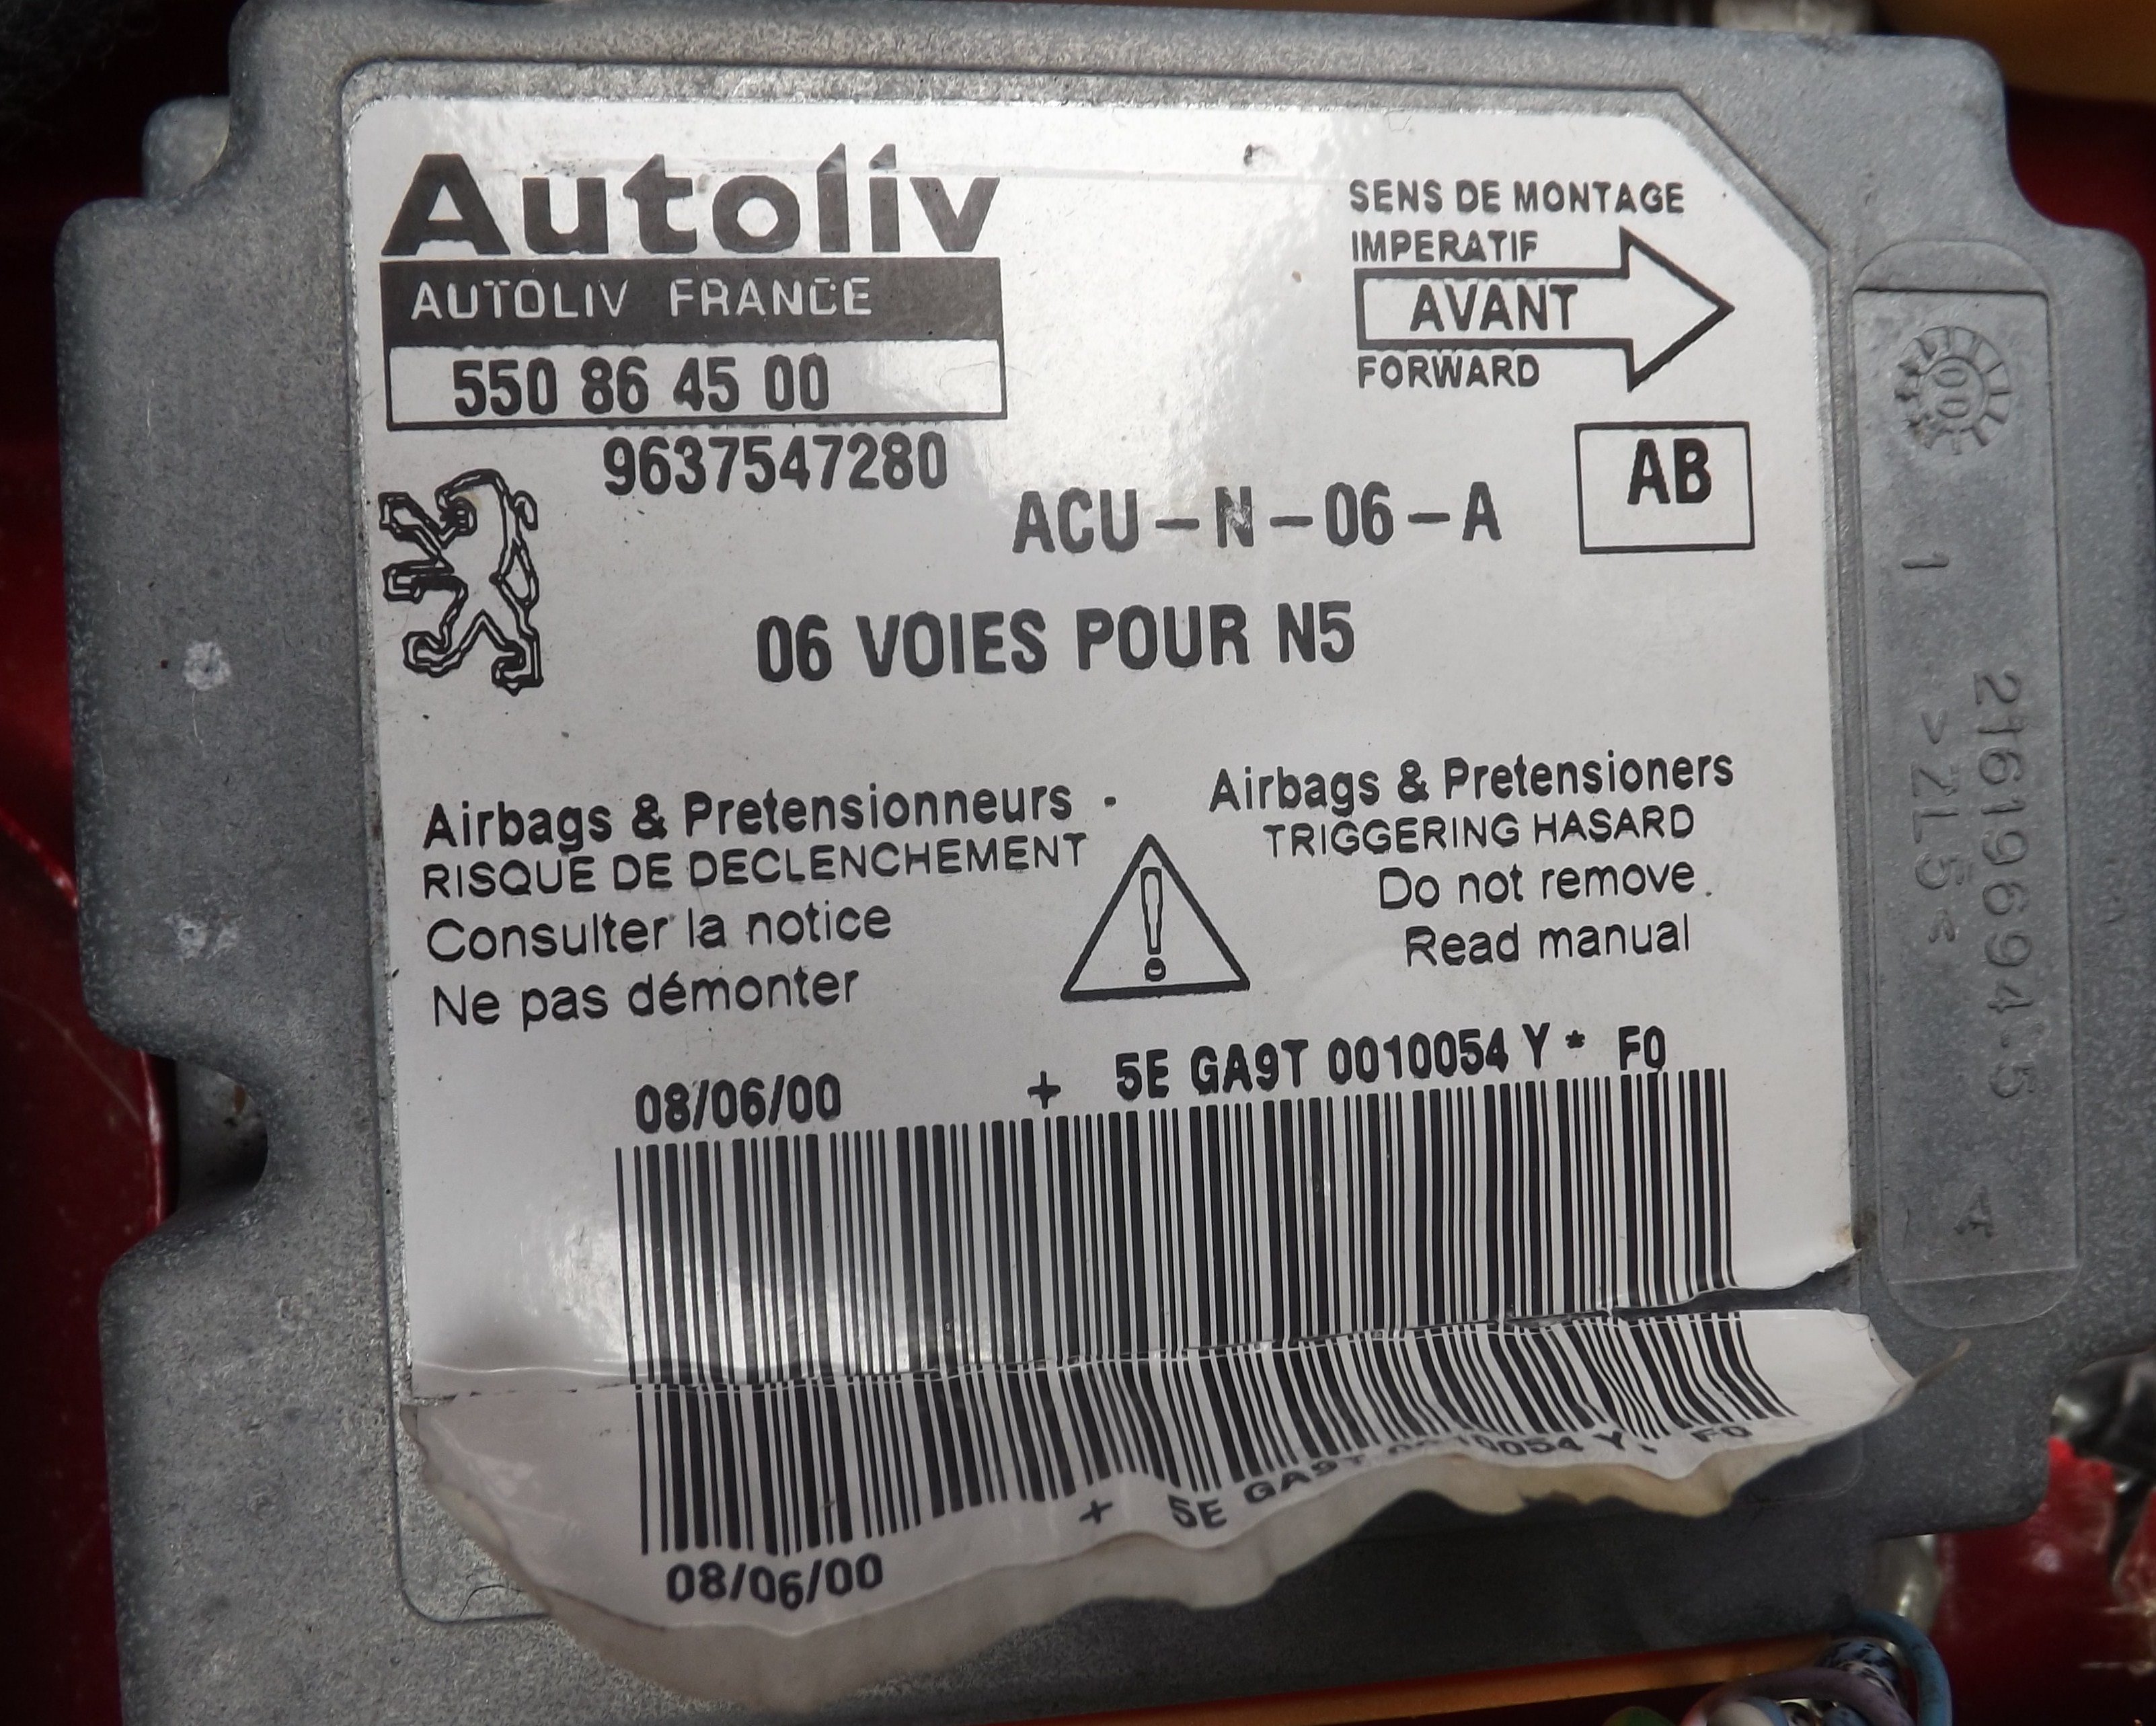
   

this is a cheap guide on how to trick the Airbag diag lights for MOT

this is how i would do this at quick notice with limited parts available

Parts needed
delay on or off timer

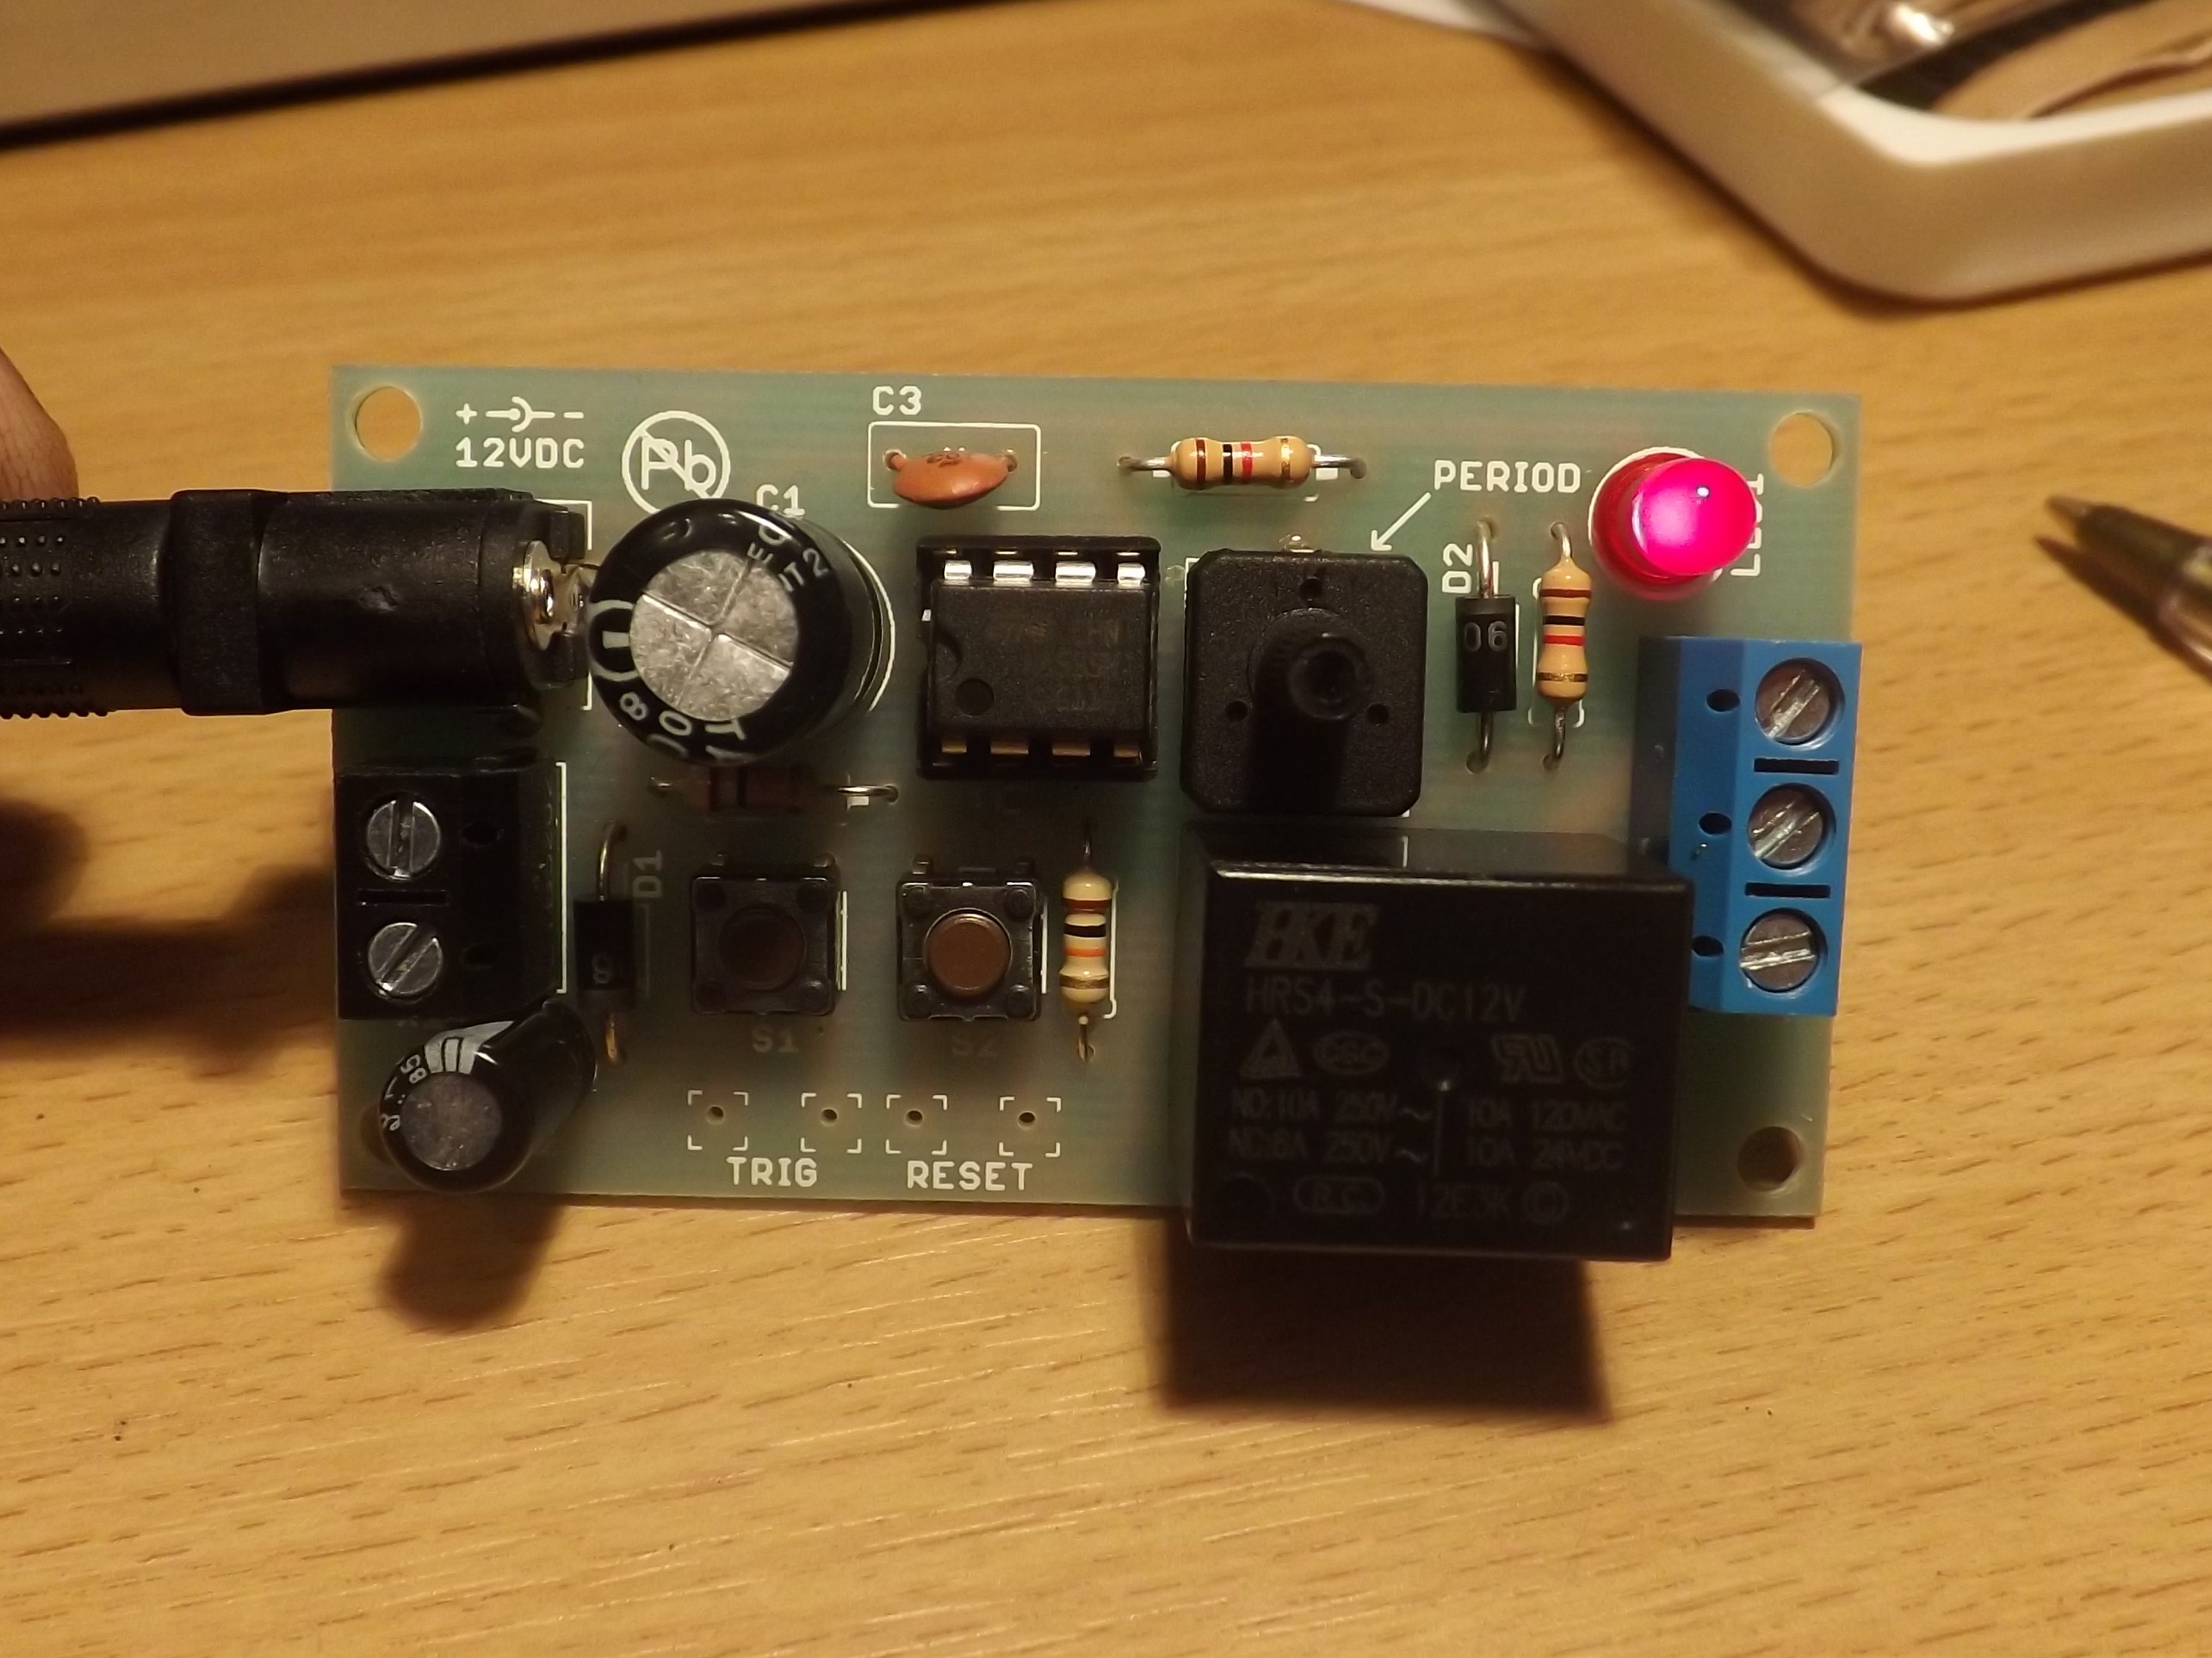
i have used a timer from Maplins for this as its all i could find at short notice
unfortunately the timer dose not do quite what i wanted it to do so have slightly modified it

the timer comes in a kit you have to assemble!
Maplins kit 555 Monostable Switch Kit N32FL
http://www.maplin.co.uk/555-monostable-s...kit-220009

[Image: n32fl.jpg]

you will need one extra capacitor 10uF 50v and some wire

solder up the kit as instructed
add the capacitor across pins 1 -2 of the chip, pin 1 is 0v or - if the capacitor is polarised!
adding this mod makes the timer start the delay as soon as you power up
as the circuit std needs the board powered and then triggered with a button

add a length of wire between the 0v feed and the common of the relay output
this addition is part of the wiring for the airbag lights Wink


.pdf   N32FL.pdf (Size: 173.14 KB / Downloads: 36)
Reply
Thanks given by:
#2
Airbag ecu Pin outs for wires needed

Pin 47.....wire number CC4............Ignition on 12V+
Pin 1.......wire number M6560........0V Ground
Pin 34.....wire number M6570.........0V Ground
Pin 48.....wire number 6548...........from side airbag dash light (ground to illuminate)
Pin2........wire number 6541A.........from airbag dash light (ground to illuminate)
Pin40......wire number 6541B.........from airbag dash light (ground to illuminate)
Pin 49.....wire number 6547...........from passenger bag key sw (100/400ohm)
Pin 50.....wire number 6546...........from passenger bag key sw (100/400ohm)

Caution all other wires in the multiplug are Detonator wires or diagnostics do not introduce voltage to these
Reply
Thanks given by:
#3
Detonator wire numbers and pins at ECU
at bag ends wire numbers will change!

Pin21.......wire 6539.......Driver's air bag
Pin20.......wire 6538.......Driver's air bag
Pin23.......wire 651.........pretensioning seat belt (driver's side)
Pin22.......wire 650.........pretensioning seat belt (driver's side)
Pin24.......wire 652.........pretensioning seat belt (passenger side)
Pin25.......wire 653.........pretensioning seat belt (passenger side)
Pin18.......wire 6502.......passenger airbag
Pin19.......wire 6503.......passenger airbag
Pin10........wire 6508.......lower front LH side airbag
Pin11.......wire 6509.......lower front LH side airbag
Pin7.........wire 6506.......lower front RH side airbag
Pin6.........wire 6507.......lower front RH side airbag
Pin9.........wire 6527.......driver's side remote control
Pin12.......wire 6526.......driver's side remote control
Pin5.........wire 6524.......passenger side unit
Pin8.........wire 6525.......passenger side unit


.pdf   airbag drawing.pdf (Size: 177.24 KB / Downloads: 45)
Reply
Thanks given by:
#4
Read Very carefully!!

connections to be made to the airbag ecu plug!

Pin 47.....wire number CC4............ connect to +12 of timer board
ground/car body............................connect to -12v of timer board

Connect all three of these to one wire and connect to O/C of the timer board
Pin 48.....wire number 6548...........
Pin2........wire number 6541A.........
Pin40......wire number 6541B.........


VERY IMPORTANT

remove the shorting link at plug pin 26-27 this shorts pins 1-2 together
push down on the centre tab and push out

if you don't remove this the airbag light will stay on permanently!


leave Airbag ECU unplugged
test by turning on the ignition the airbag+sidebag light should go out after a timed delay
to adjust the time the lights stays on, adjust the pot on the board to extend or shorten the time

important info for testing this system!


Pin 49.....wire number 6547...........from passenger bag key sw
Pin 50.....wire number 6546...........from passenger bag key sw

switch resistance ON= 100ohms , OFF=400ohms

Pin6.........wire 6507.......lower front RH side airbag
Pin7.........wire 6506.......lower front RH side airbag

resistance 2.1ohms measured at airbag ecu (shorting pins defeated)

Pin10........wire 6508.......lower front LH side airbag
Pin11.......wire 6509.......lower front LH side airbag

resistance 2.1ohms measured at airbag ecu (shorting pins defeated)

Pin18.......wire 6502.......passenger airbag
Pin19.......wire 6503.......passenger airbag

resistance 2.1ohms measured at airbag ecu (shorting pins defeated)

Pin20.......wire 6538.......Driver's air bag
Pin21.......wire 6539.......Driver's air bag

resistance 2.1ohms measured at airbag ecu (shorting pins defeated)

Pin22.......wire 650.........pretensioning seat belt (driver's side)
Pin23.......wire 651.........pretensioning seat belt (driver's side)

resistance 2.1ohms measured at airbag ecu (shorting pins defeated)

Pin24.......wire 652.........pretensioning seat belt (passenger side)
Pin25.......wire 653.........pretensioning seat belt (passenger side)

resistance 2.1ohms measured at airbag ecu (shorting pins defeated)

when i say with the shorting pins defeated!
if you look at the plug you have double holes above single holes
when the plug is unplugged from the ecu the double holes short the single holes below protecting the airbags from stray voltages stopping static setting the bag off
Safety feature!

   
Reply
Thanks given by:
#5
Recon you can do this for me? Lol to many numbers for my liking!
Reply
Thanks given by:
#6
(20-05-2013, 05:31 PM)wonkey18 Wrote: Recon you can do this for me? Lol to many numbers for my liking!

you would be better off fixing your system!

but as a last resort for mot then maybe if you sign the disclaimer form

you could ask darren hes local to you Wink
Reply
Thanks given by:
#7
You really are one clever cookie haha

I've used several of your guides now and never do some of the things you come up with cease to amaze haha

I wont be using this one as to much hassle for me I'll just buy my tester a red bull Tongue haha

But once again amazing write up thank you (Y)
Reply
Thanks given by:
#8
Very good guide!
Reply
Thanks given by:
#9
This is another one of your excellent guides,excellent work well done mate ThumbsUp
Reply
Thanks given by:
#10
Hi there, realise it's a couple of years since this thread died but hopefully you guys have still got your ears on!

First of all I intend to fit this to a beemer which has defied all attempts to resolve the srs light issue by conventional means. I do own a 306, have done for years but that's another story.

I'm not sure why you need to poke around in the srs wiring harness, couldn't this circuit simply be hooked up to 12v feed in the dash and the led used to replace the existing srs lamp? Seems a lot simpler (and safer) or am i missing something?

Also, when building the circuit i didn't bother with the buttons, relay or output terminals as i won't need to power an external circuit, just switch on the led for 5-6 secs when the circuit is energised by the 12v feed.

Speaking of which, your mod to bypass the trigger switch worked a treat - ta for that.... however... rather than switching the led on for 6 secs, it remains off then switches on after 6 secs!!! How might i correct this?

Additionally, when the circuit is broke then re-energised soon afterwards the delay is less than it should be... in fact if you were to switch the ignition off then on again quickly the light might not come on at all! I suspect that this is due to residual charge remaining in the capacitor/s. Therefore the question would be if these could be arranged to discharge on power off to ensure the proper delay every time the ignition key is turned on.

Sorry to be a pain in the ass but any pointers would be greatly appreciated.

Regards - Mervyn.
Reply
Thanks given by:
#11
i have a meridian 2000 estate diesel , none HDI, i had the same problem but as there are no electronics in the vehicle apart from the ABS i was able to just take the airbag out of the circuit and join up the two wires without a resistor....... having seen the crap you lot have had to do i'm glad i'm old school lol
Reply
Thanks given by:
#12
Removing the bulb is no longer a failure and really easy to do.
Reply
Thanks given by:
#13
(04-07-2017, 03:27 PM)306gtiparts Wrote: Removing the bulb is no longer a failure and really easy to do.

correct the MOT rules have changed since writing this guide
removing the lamp so it dose-not show is only an advisory now Wink

https://www.check-mot.service.gov.uk/
GTI6 Info

Don’t drive faster than your guardian angel can fly.

Reply
Thanks given by:
#14
Easiest way was to wire the airbag light into the battery light, came on with ignition and went out when the car was running.
No tester could ever spot it wasn't quite right.
Reply
Thanks given by:
#15
(05-04-2013, 10:01 PM)cully Wrote: WARNING THIS WILL LEAVE YOU WITH A NON WORKING AIRBAG SYSTEM


i have used a timer from Maplins for this as its all i could find at short notice
unfortunately the timer dose not do quite what i wanted it to do so have slightly modified it

the timer comes in a kit you have to assemble!
Maplins kit 555 Monostable Switch Kit N32FL
http://www.maplin.co.uk/555-monostable-s...kit-220009

Trouble is Maplins has ceased to exist
If it can break it will. Matter over mind will fix it. Idea
Reply
Thanks given by:
#16
Rapid electronics or ( from memory) ESR, good for mail order in small amounts, check electronics mags.

ESR.co.uk, mail order electronics mail order.
Reply
Thanks given by:
#17
Few other options...

https://www.altecautomotive.co.uk/timer-...1614-p.asp

https://www.autoelectricsupplies.co.uk/p...tegory/210

Have purchased quite a few bits from Altec in the past.  Delivery has been very reliable & the relays supplied have been good quality.
Reply
Thanks given by:


Possibly Related Threads…
Thread Author Replies Views Last Post
  How to replace a faulty twin fan motor jay8086 2 9,921 06-08-2016, 07:58 PM
Last Post: Magenta Sunset

Forum Jump:


Users browsing this thread: 1 Guest(s)