18-05-2013, 04:51 PM
Why would i want to do this?
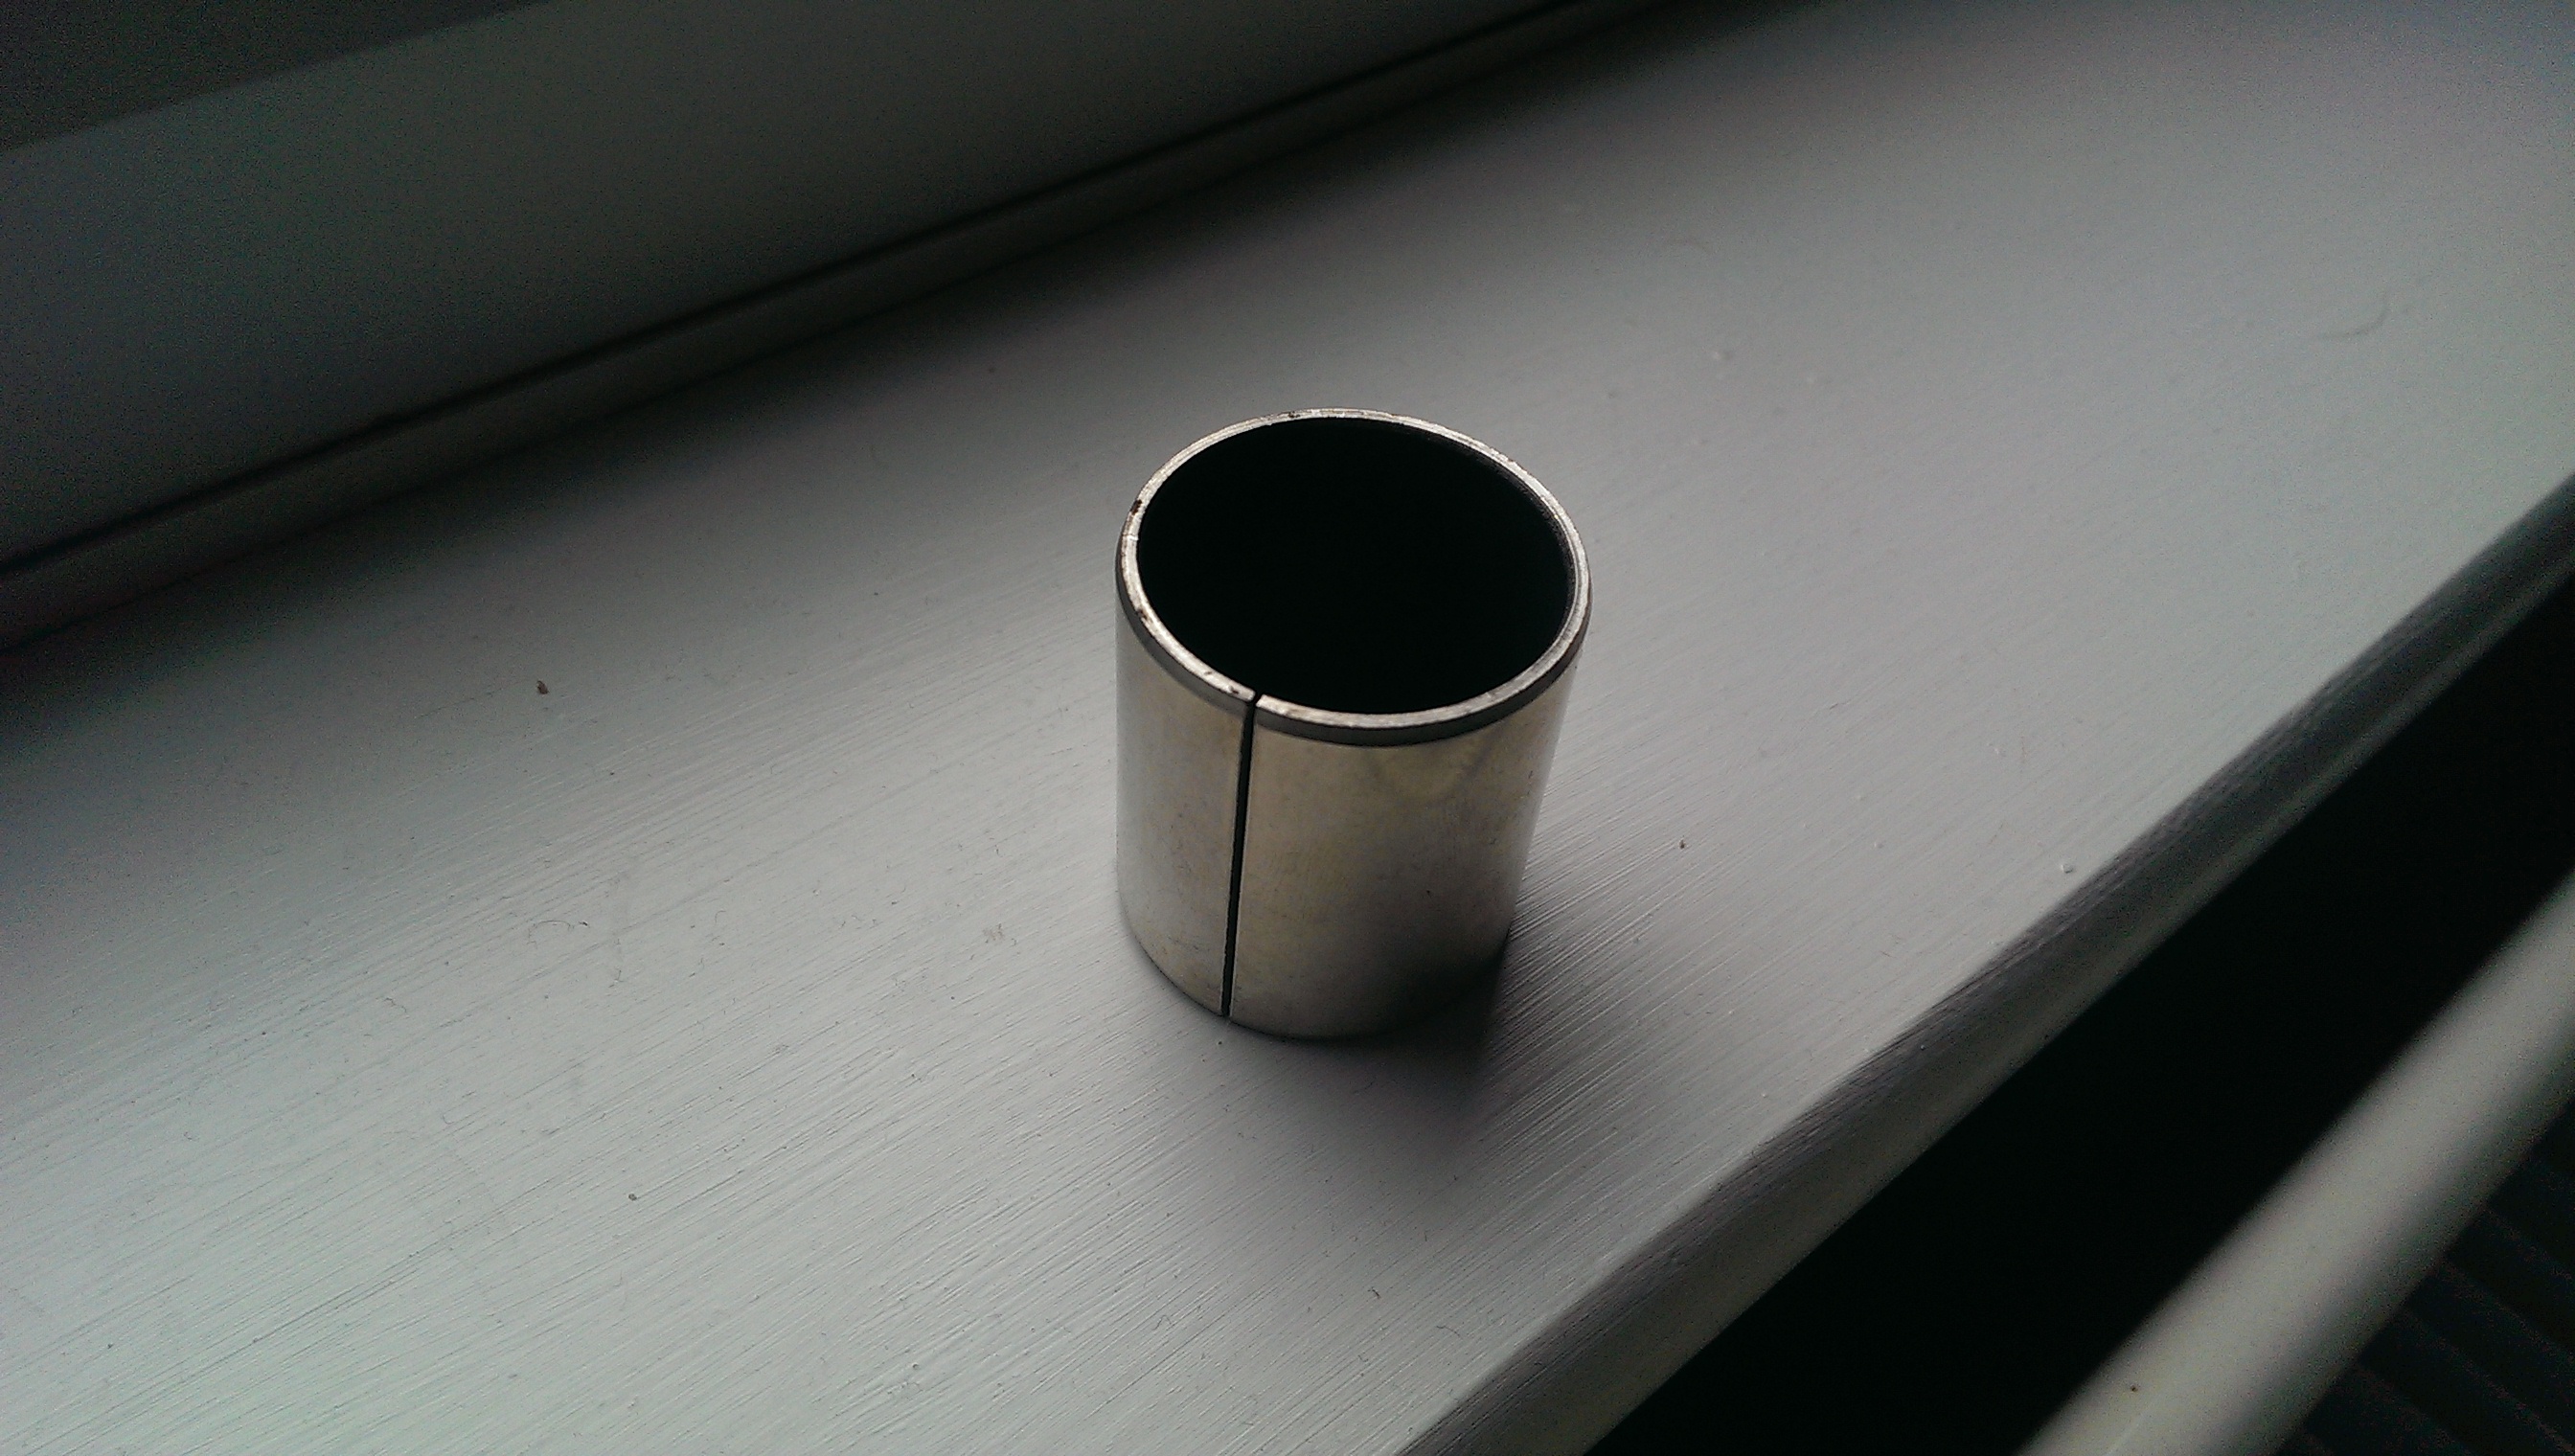
Over the years, just like anything mechanical, the bush wears out leaving a very vague gear change and sloppy gear stick. Also, the grease drys out over time meaning the gear changes are quite stiff. Replacing the bush gives a tighter more positive gear change.
How easy is it? Very. Takes 30-45 minutes. You will need a jack and stands, 10 and 12mm spanners and something to pry your gear linkages off. I just used a large screw driver. You will also need a hammer and chisel and some high temperature grease.
Where can i get the bush from?
Peugeot only sell this as part of the linkage arm which as you can imagine is quite costly. You can buy the same bush from Bearing Boys
http://www.bearingboys.co.uk/GB3240DU_Sp...sh-14905-p

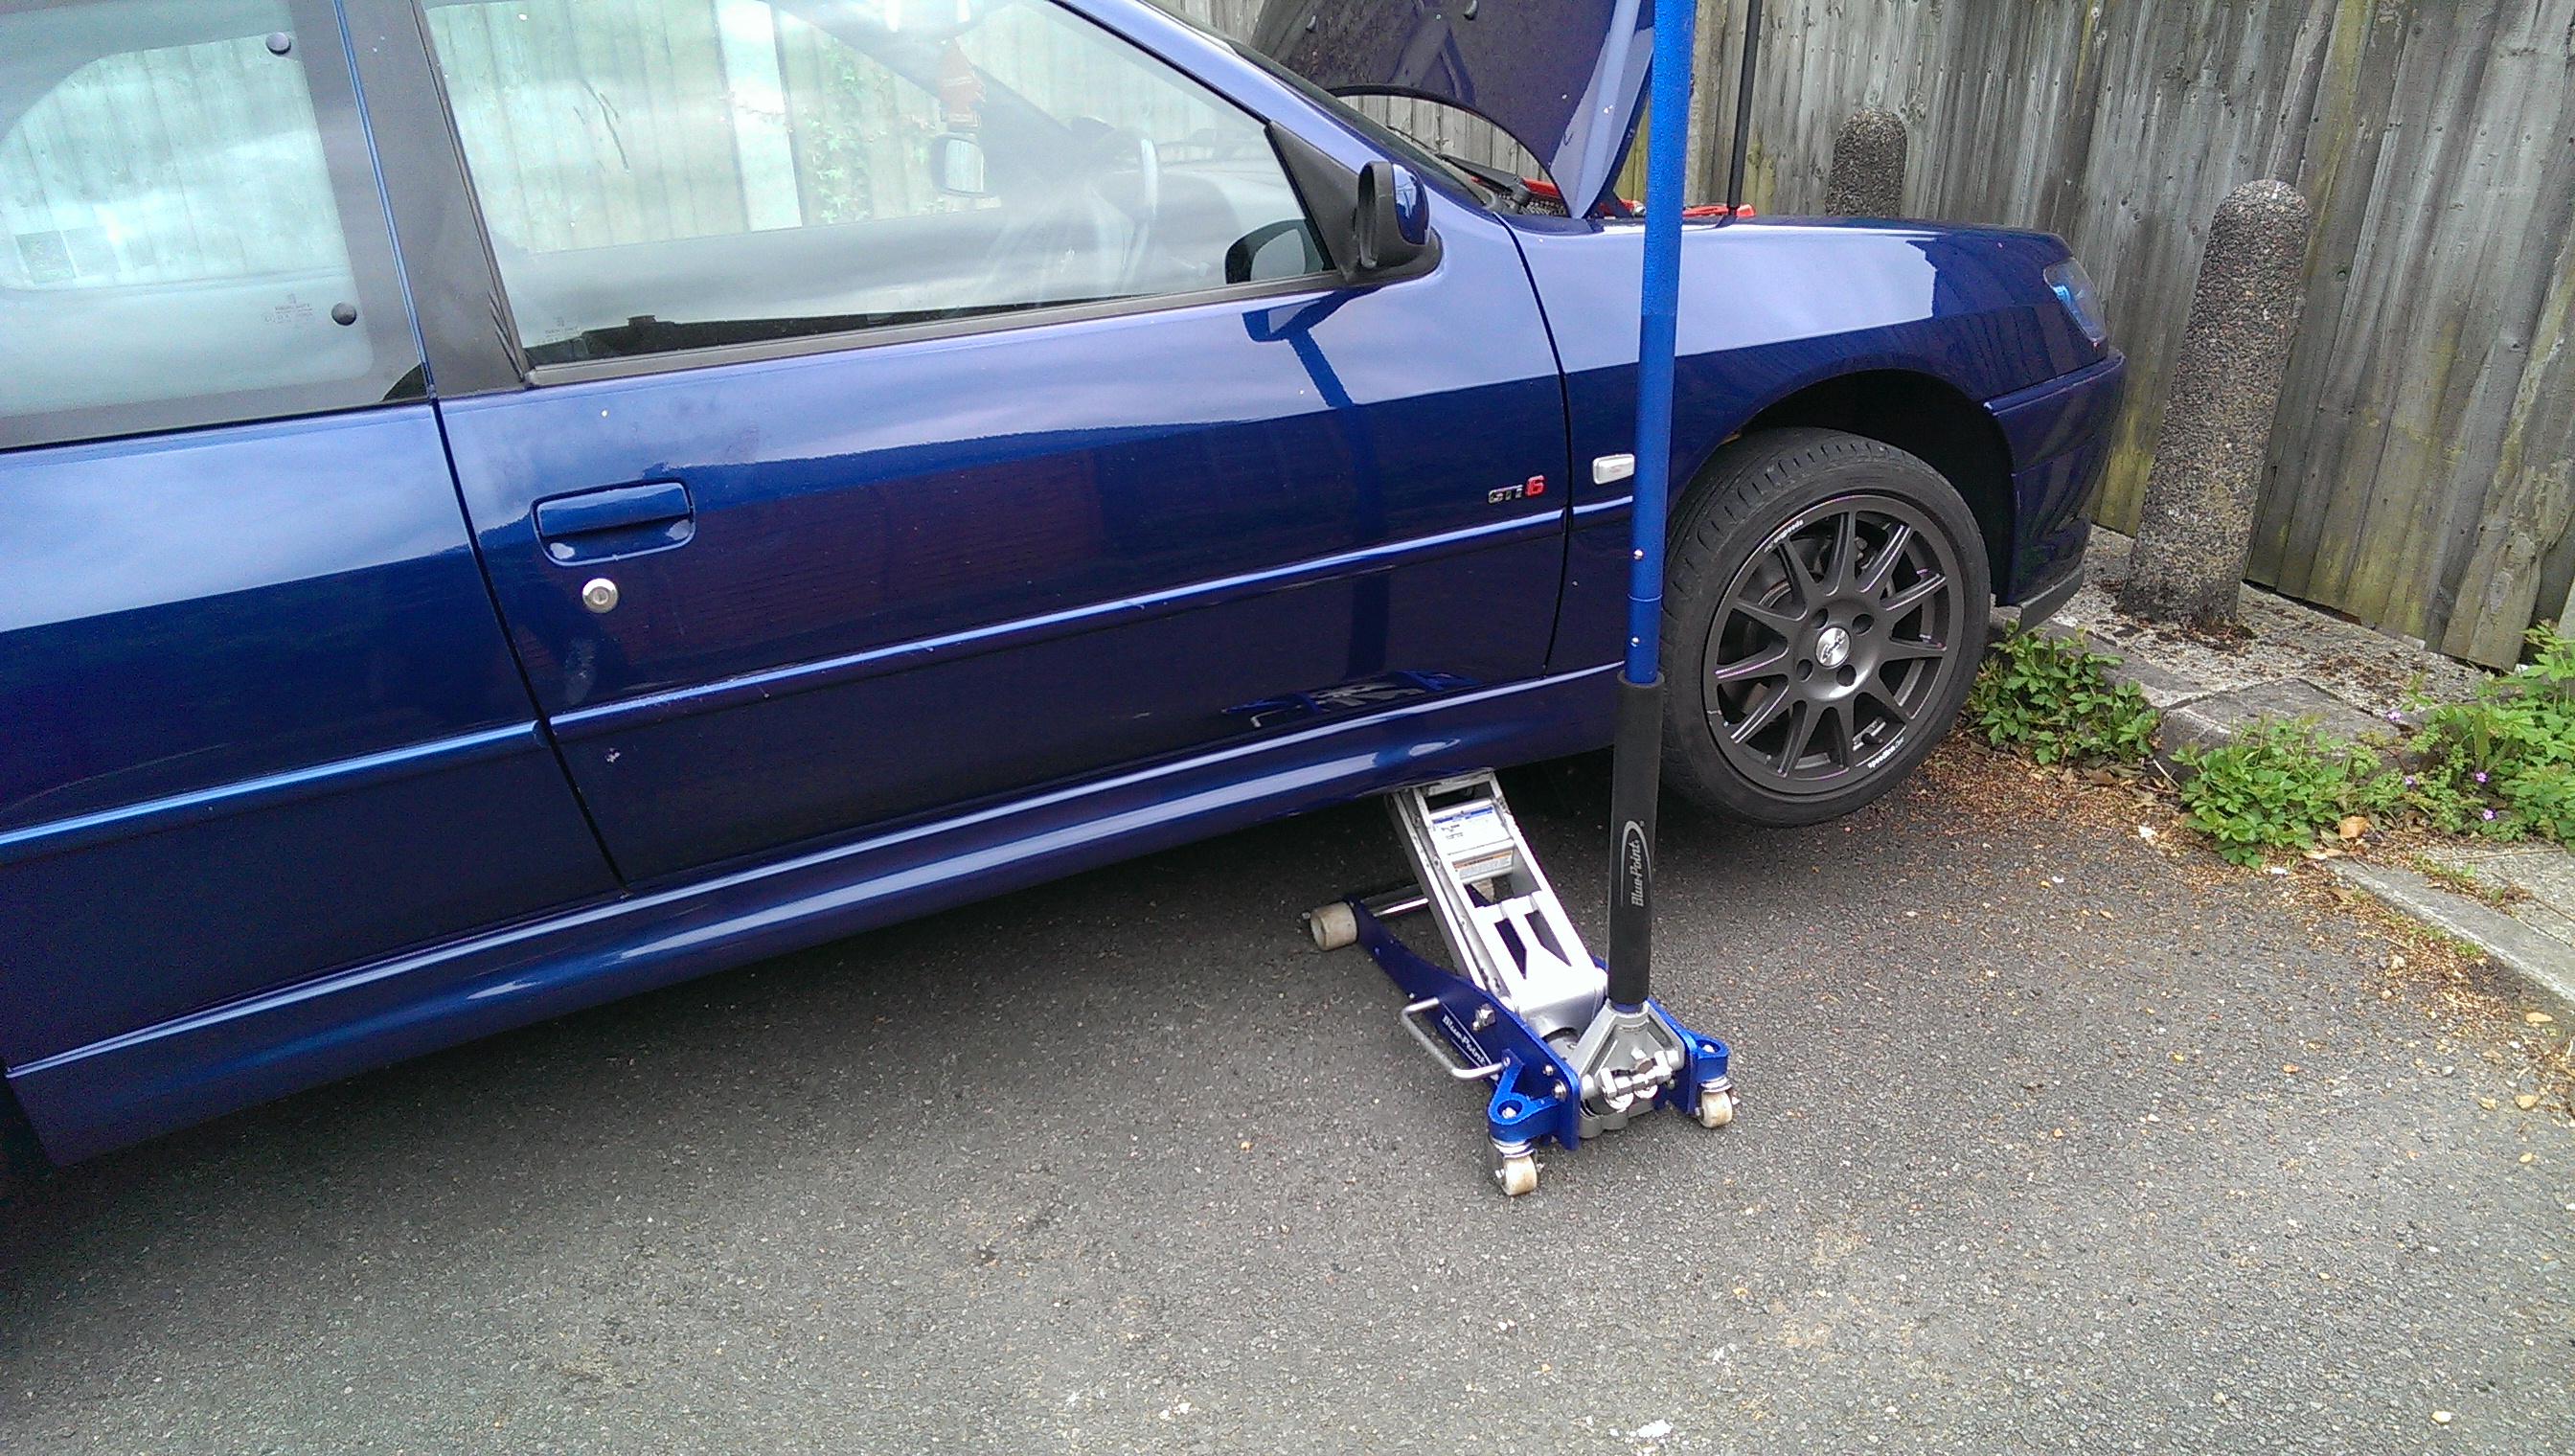
Jack the car up and support with axle stands. As long as its not in the way, leave the jack under the car for good measure

Now, look above your cat (or where it used to be!) If you own any model except for a GTi, you should be able to see the bottom of the gear stick. There is a pivot bolt that goes through that. 10mm nut on a 12mm bolt. Undo that and place it to one side.
If you own a GTi, for some reason Peugeot have added another heat shield to cover the gear shifter. Possibly because of higher exhaust temps? I dont know and dont really care. This is held on by 4 10mm nuts. I suggest before undoing them, you soak them in plusgas for a little while. One of mine sheared off and now its rattling Once undone, Slide the heat shield back towards the back the car.
Now, go and open the bonnet and look down the back of the engine and you should see the three linkages. You want to pop the two smaller ones off. If you are still using the original pug linkages, they should practically fall off! Once they are off, place to one side, and get back under the car. Grab the selector rod and move it over towards the drivers side of the car. It should slide off the ball nicely then you just need to wiggle it out from between the exhaust tunnel and exhaust. Bit tricky but not too bad. Be careful to not get it tangled up in your lambda sensor wiring.
Once out, take it in to the garage and put in the vice

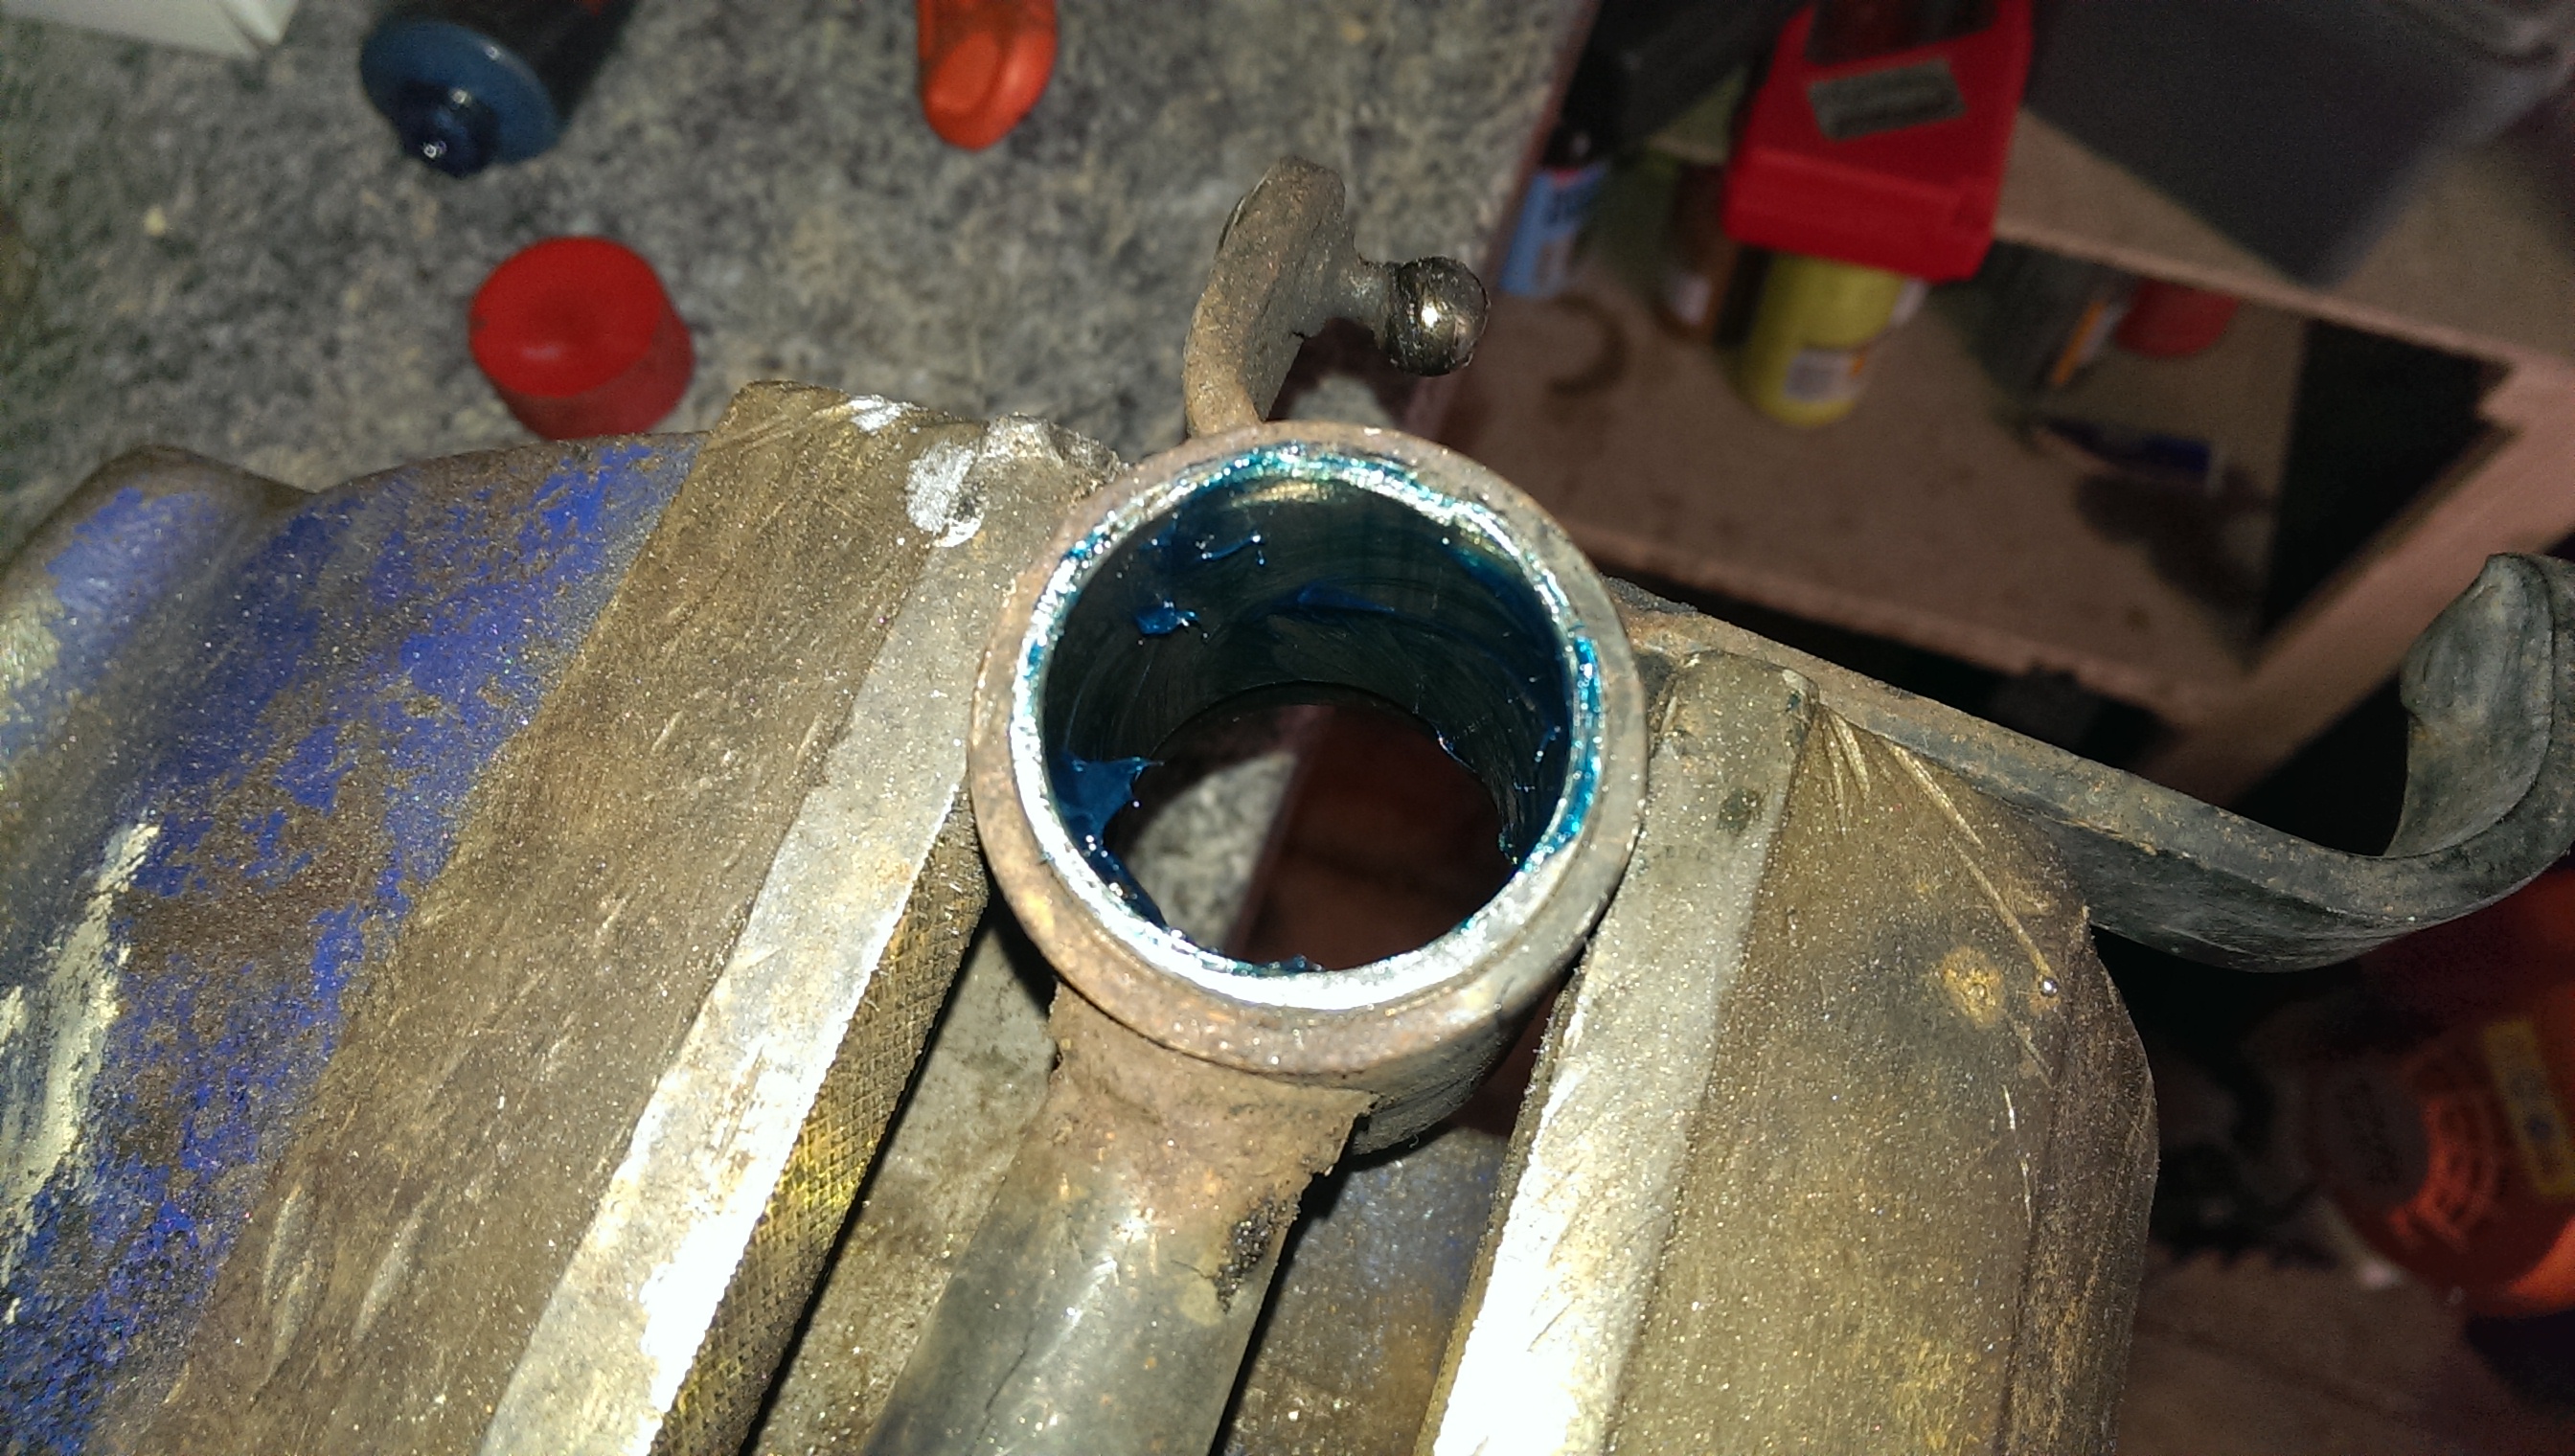
Poor picture but as you can see, the bush only sits in part of the housing. Could of bought a longer bush but it may get in the way of the ball arm when changing gear so i wouldnt bother. Also, you can see where the ball has been wearing on the bush over the years. You can actually feel a dip in the metal.
Heat it up and use either a chisel or a 27mm socket to smash the old bush out. Now, this is far from easy. I found it easier with the socket as it was applying pressure all the way round but it did mark the outside of my socket which i then had to hammer out with a slightly smaller socket!
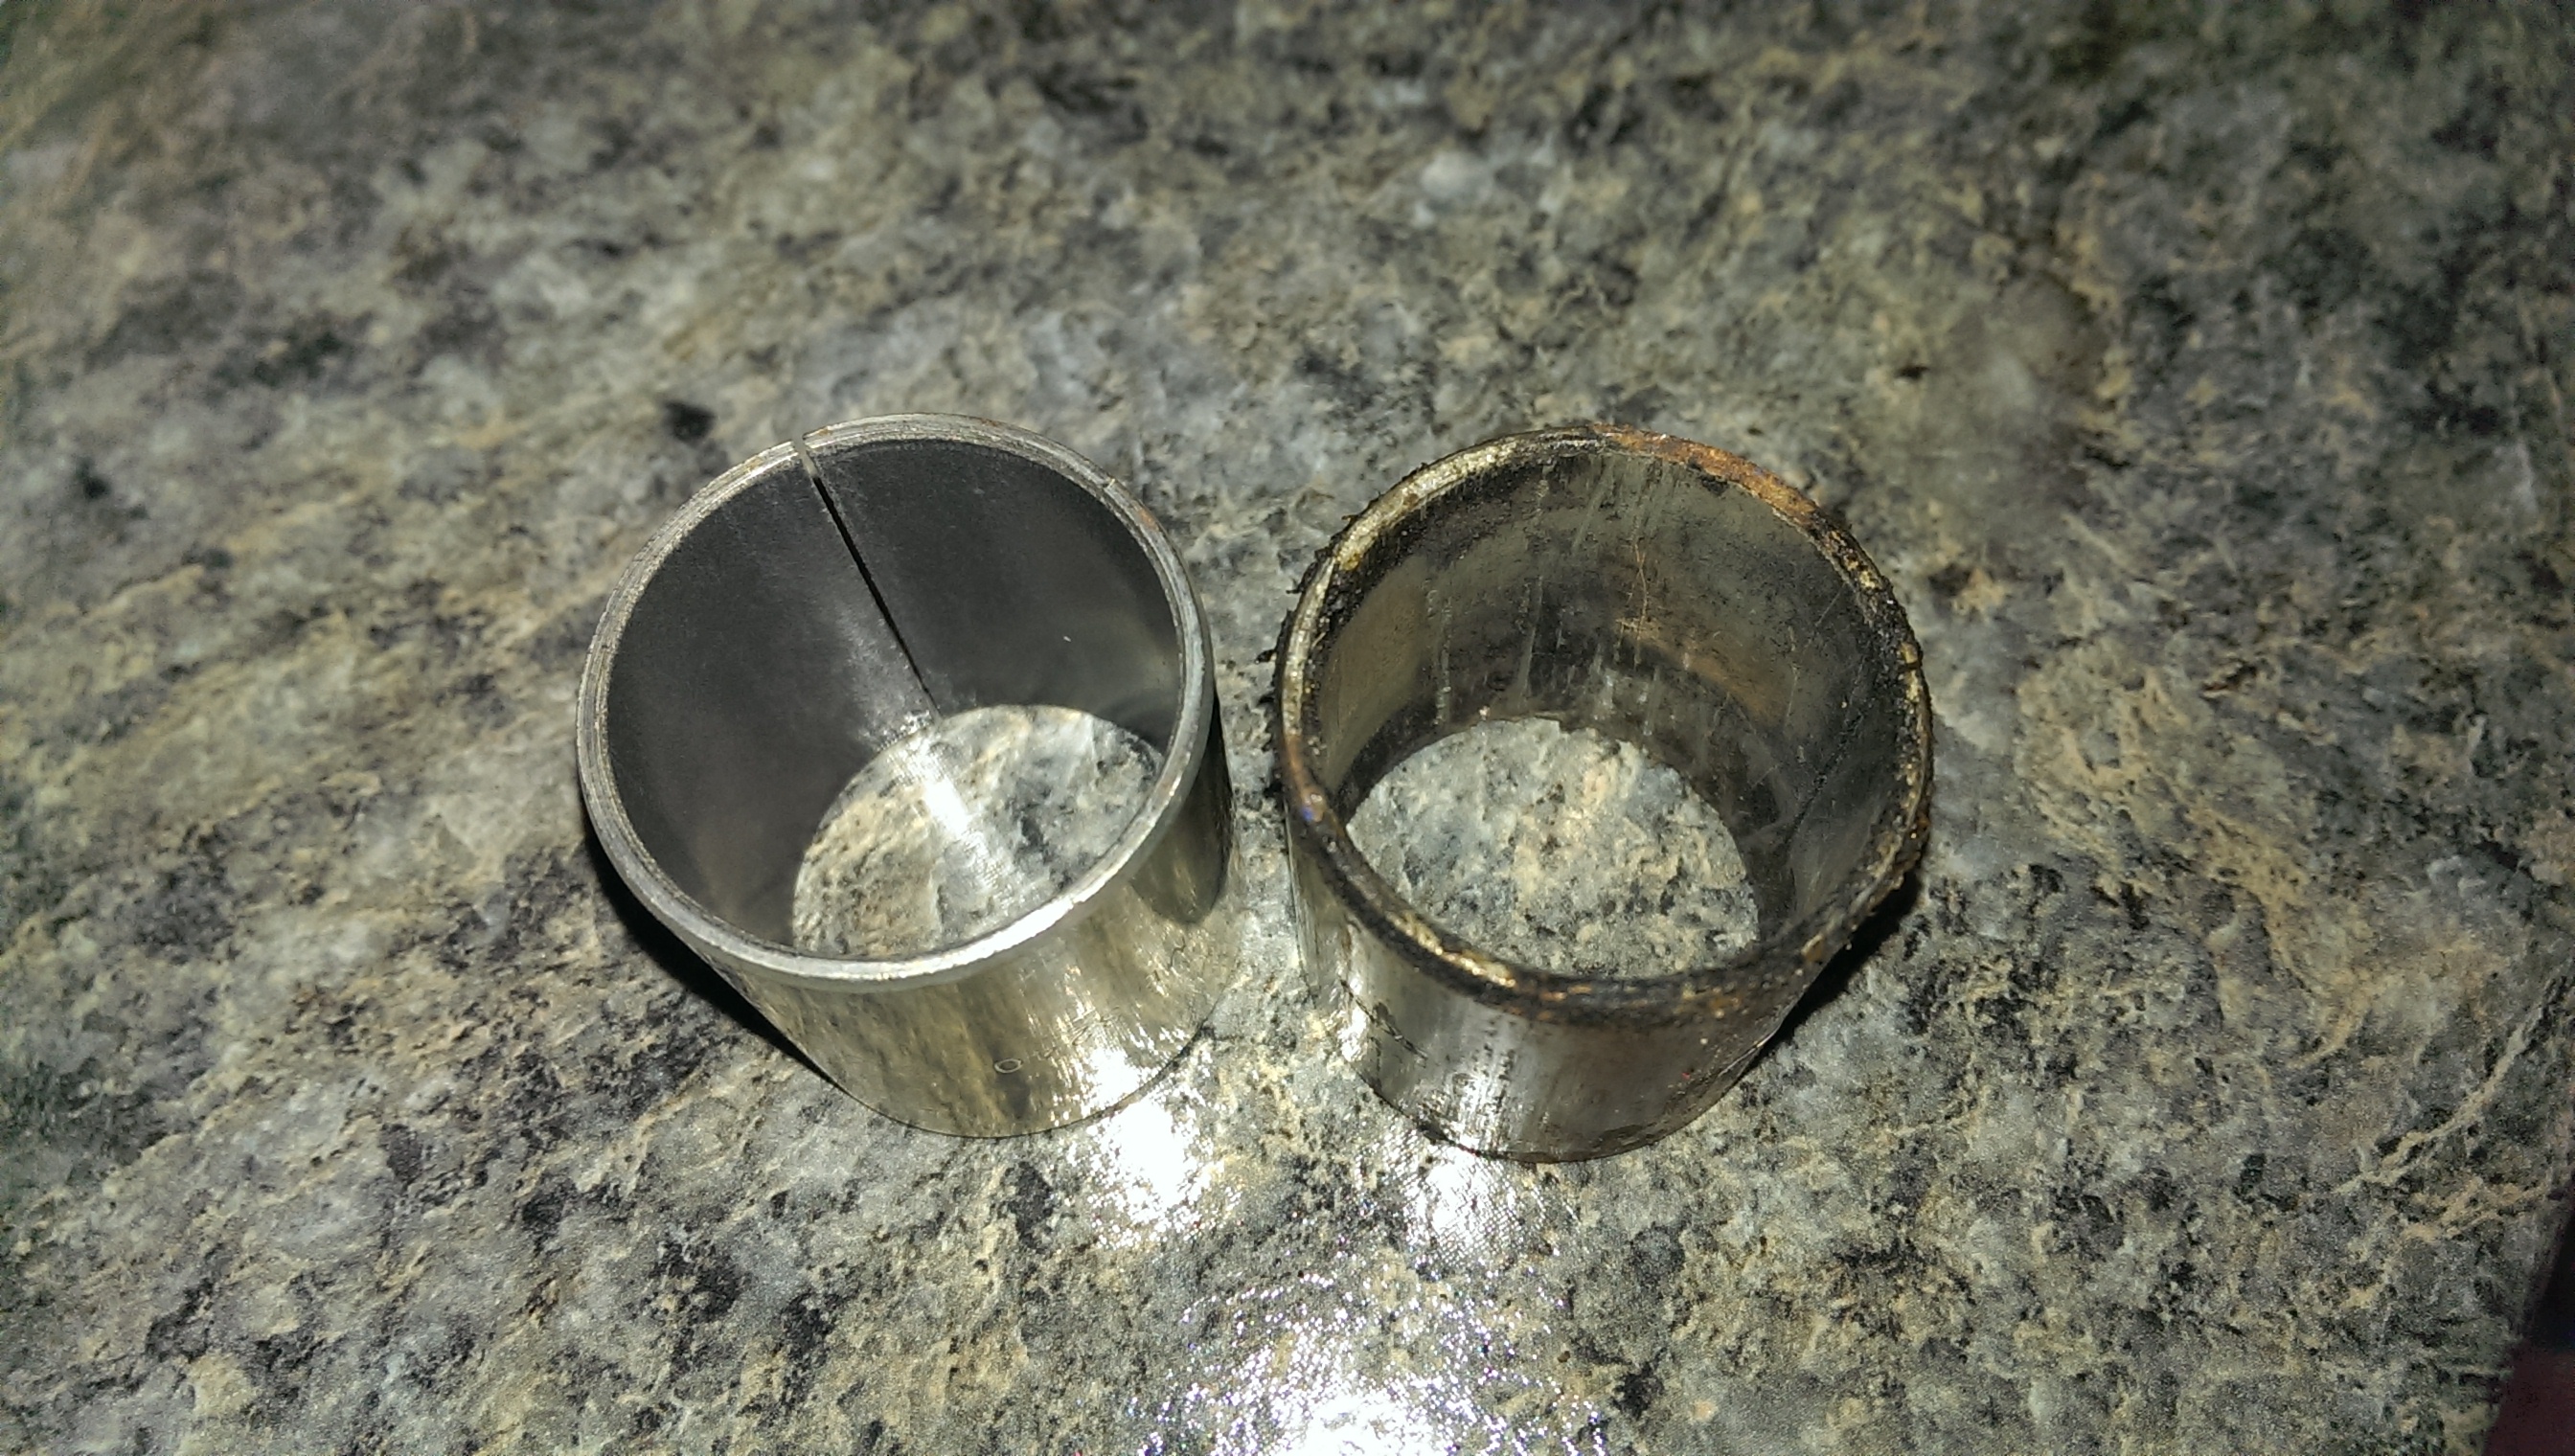
Comparison of the new and old

To replace, heat the gear selector rod and place the new bush in place (on the right side. Bush should be nearer to the passengers side). Hammer into place (make sure it goes in straight otherwise you will ruin the new bush). I found it was better to hammer it in from the side that the ball doesnt go through on fitting as when i was hammering it, it did create a small lip. Only took a few seconds to remove with the dremel but left a fairly uneven surface. Liberally coat the inside of the bush with high temp grease (you could use normal but you will find it will dry out after a while seeing as it is so close to the exhaust)

Now go and fit! Before you do, take a rag and go and clear off all the old dirty dried out grease off of the ball and cover with nice new grease.
Refitting is a reversal of removal.
Also, i would recommend making sure your gear linkages are on securely otherwise you may find your self hammering it up a dual carriageway, slamming it from 2nd to 3rd and loosing all gears and being stuck in 3rd and loosing the clips for your gear linkages. Not that ive just spent the last 15 minutes stuck at the side of said dual carriageway trying to fix this....honest!
Over the years, just like anything mechanical, the bush wears out leaving a very vague gear change and sloppy gear stick. Also, the grease drys out over time meaning the gear changes are quite stiff. Replacing the bush gives a tighter more positive gear change.
How easy is it? Very. Takes 30-45 minutes. You will need a jack and stands, 10 and 12mm spanners and something to pry your gear linkages off. I just used a large screw driver. You will also need a hammer and chisel and some high temperature grease.
Where can i get the bush from?
Peugeot only sell this as part of the linkage arm which as you can imagine is quite costly. You can buy the same bush from Bearing Boys
http://www.bearingboys.co.uk/GB3240DU_Sp...sh-14905-p
Jack the car up and support with axle stands. As long as its not in the way, leave the jack under the car for good measure
Now, look above your cat (or where it used to be!) If you own any model except for a GTi, you should be able to see the bottom of the gear stick. There is a pivot bolt that goes through that. 10mm nut on a 12mm bolt. Undo that and place it to one side.
If you own a GTi, for some reason Peugeot have added another heat shield to cover the gear shifter. Possibly because of higher exhaust temps? I dont know and dont really care. This is held on by 4 10mm nuts. I suggest before undoing them, you soak them in plusgas for a little while. One of mine sheared off and now its rattling
 Once undone, Slide the heat shield back towards the back the car.
 Now, go and open the bonnet and look down the back of the engine and you should see the three linkages. You want to pop the two smaller ones off. If you are still using the original pug linkages, they should practically fall off! Once they are off, place to one side, and get back under the car. Grab the selector rod and move it over towards the drivers side of the car. It should slide off the ball nicely then you just need to wiggle it out from between the exhaust tunnel and exhaust. Bit tricky but not too bad. Be careful to not get it tangled up in your lambda sensor wiring.
Once out, take it in to the garage and put in the vice
Poor picture but as you can see, the bush only sits in part of the housing. Could of bought a longer bush but it may get in the way of the ball arm when changing gear so i wouldnt bother. Also, you can see where the ball has been wearing on the bush over the years. You can actually feel a dip in the metal.
Heat it up and use either a chisel or a 27mm socket to smash the old bush out. Now, this is far from easy. I found it easier with the socket as it was applying pressure all the way round but it did mark the outside of my socket which i then had to hammer out with a slightly smaller socket!
Comparison of the new and old
To replace, heat the gear selector rod and place the new bush in place (on the right side. Bush should be nearer to the passengers side). Hammer into place (make sure it goes in straight otherwise you will ruin the new bush). I found it was better to hammer it in from the side that the ball doesnt go through on fitting as when i was hammering it, it did create a small lip. Only took a few seconds to remove with the dremel but left a fairly uneven surface. Liberally coat the inside of the bush with high temp grease (you could use normal but you will find it will dry out after a while seeing as it is so close to the exhaust)
Now go and fit! Before you do, take a rag and go and clear off all the old dirty dried out grease off of the ball and cover with nice new grease.
Refitting is a reversal of removal.
Also, i would recommend making sure your gear linkages are on securely otherwise you may find your self hammering it up a dual carriageway, slamming it from 2nd to 3rd and loosing all gears and being stuck in 3rd and loosing the clips for your gear linkages. Not that ive just spent the last 15 minutes stuck at the side of said dual carriageway trying to fix this....honest!
Team Eaton
1999 China Blue 306 GTi6 - Eaton Supercharged - 214.5bhp 181lbft
1999 China Blue 306 GTi6 - Eaton Supercharged - 214.5bhp 181lbft


![[Image: sig.jpg]](http://i89.photobucket.com/albums/k220/c_j_m/sig.jpg)
![[Image: P1010033_zps34c67f97.jpg]](http://i145.photobucket.com/albums/r233/Flynn_bucket/P1010033_zps34c67f97.jpg)
![[Image: P1010035_zpsb5e00796.jpg]](http://i145.photobucket.com/albums/r233/Flynn_bucket/P1010035_zpsb5e00796.jpg)
![[Image: P1010037_zpsd4e3b6cd.jpg]](http://i145.photobucket.com/albums/r233/Flynn_bucket/P1010037_zpsd4e3b6cd.jpg)
![[Image: P1010038_zps15ea46d4.jpg]](http://i145.photobucket.com/albums/r233/Flynn_bucket/P1010038_zps15ea46d4.jpg)

![[Image: 0fe9d3a1275fdc4d1f4b6d4addc7f3b8.jpg]](http://images.tapatalk-cdn.com/15/10/19/0fe9d3a1275fdc4d1f4b6d4addc7f3b8.jpg)
![[Image: 4673cd914863973c95238a4adb066508.jpg]](http://images.tapatalk-cdn.com/15/10/19/4673cd914863973c95238a4adb066508.jpg)
